Welcome to my Studio page! I love to see what other folks are working on, and learn new things, so thought I'd make up a page to show you some of what goes on in my studio. Little bit of information, with lots of pictures :) I hope you enjoy it!
My way is not the only way obviously, YouTube and the Internet have tons of information on how to do pottery that is different than from how I have listed below. Any method that gets the desired effects is the right way!
My way is not the only way obviously, YouTube and the Internet have tons of information on how to do pottery that is different than from how I have listed below. Any method that gets the desired effects is the right way!
Each piece that you have that is ceramic, bone china, or anything kiln fired, is either built by hand (either sculpting, using a wheel, ect) or with molds. I use molds, as I lack the sculpting skills at present time.
Molds are not hard to find, however, finding great molds can be difficult. Over the years I have (and still continue to) acquire molds from Craigslist, pottery shops, mold making companies, and other hobbiest. I am always on the lookout for new horse molds, but would very much prefer to move away from main stream horses to only horses that J's Critters retains the copyright to. I learn through mostly self teaching, internet research and talking with talented artisans, while applying what they told me to cheaper, easier to find molds before investing in the really good molds.
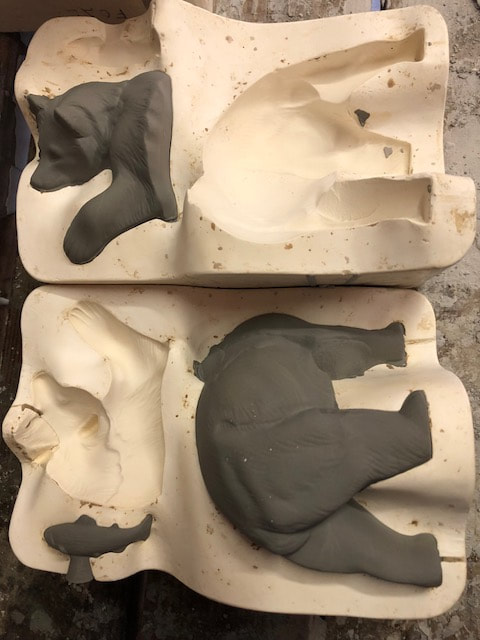
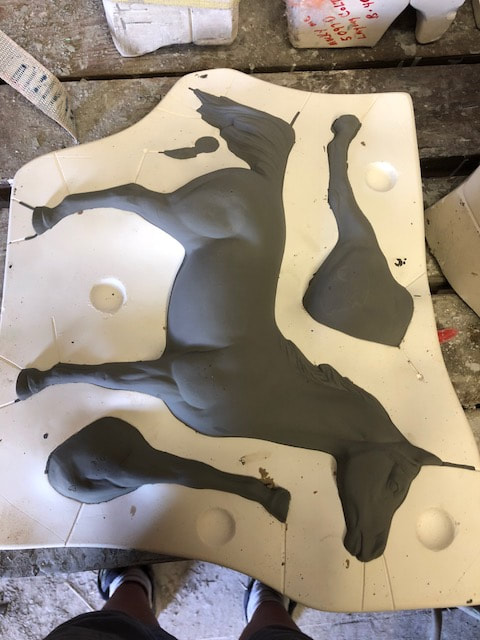
Each mold has slip, which is a special type of liquid mud, poured into it. After an amount of time (usually between 5-10 min depending on a variety of factors such as temperature, humidity, ect) the slip is poured out of the mold, and the mold allowed to dry out the slip that is inside them. If the slip is allowed to dry too much, the piece will break as it shrinks inside the mold. If you open the mold before the piece is dry enough, there's a good chance you'll tear your piece in half. Once it piece inside the mold had hardened enough to withstand demoldling, it is removed, often put together, seamed cleaned, ect.
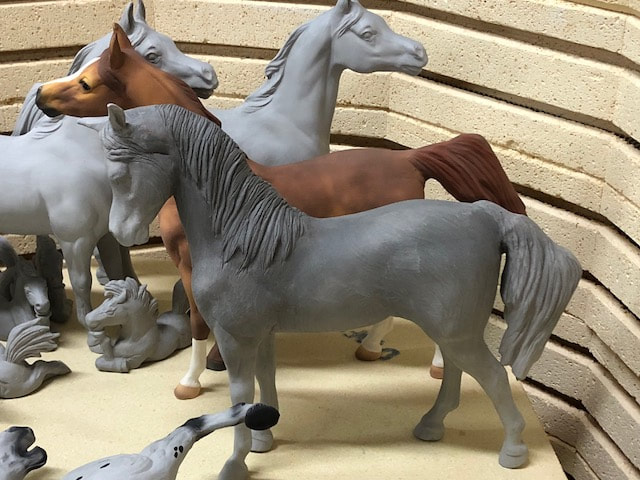
Once the piece is out of the mold, it is called "greenware". This is basically hard dirt, in a shape. This is my least favorite, and most favorite stage. It is my least because I have simply set them down on my table and broken a leg (dirt = not overly forgiving lol). I have cleaned them, and ears break off, I've pulled them from the mold too early and had them basically melt in my hand, the list goes on and on.
However, for creativeness, this is a very fun stage. You can carve, detail, resculpt, and move them around when they are in the stage, because they are still just dirt. Molds wear out with time, I've been told by 45-50 pours the good details are pretty much gone, but you can exhaust a mold much sooner. Some people pour well after 50 castings, and simply carve the details back into the greenware. Some companies pour molds well past their prime, such as the older Hagen Renaker "Horse Shaped Objects" which lack all facial detail.
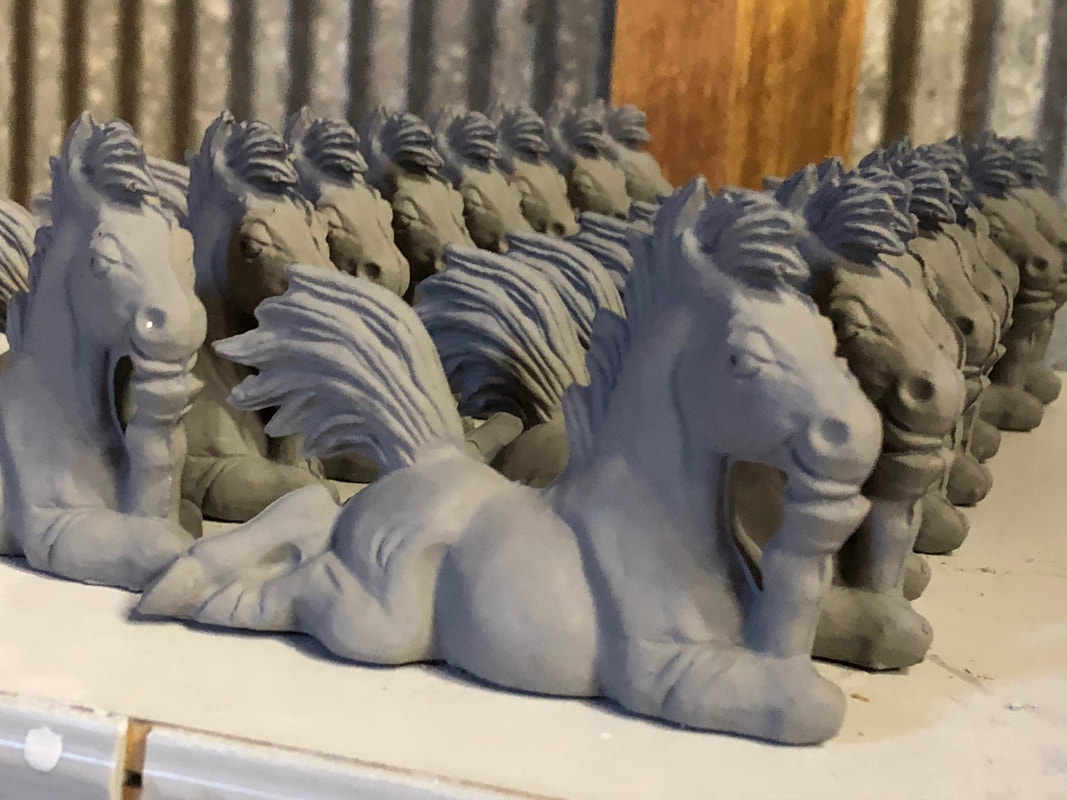
Cleaning for me is a 2-3 step process. When they are fresh from the mold, I don't do much with them. I let them dry for a little bit, here in Va where my studio often sees 95+ in the summer, sometimes I only have to let them set for 5 minutes because of all my fans, in the winter is takes longer. It's a feel thing, but the actual term is "leather hard". This is a point where they are still wet, but hard enough to withstand basic handling. This is my personal favorite time, as I find them the most forgiving. When they are bone dry I find them less forgiving and much more likely to break. When they are leather hard, I remove the large seam where the two pieces of the mold were joined (see the silly horse picture). I do carving at this stage as well. I let them dry more, closer to totally dry, and go back over and smooth them out again. This can take several times (for me), with the larger horses, usually only once with the Silly horses. A variety of tools can be used; wet sponge, carving tools, sculpting tools, toothpicks; whatever you have that achieves the look you want, works.
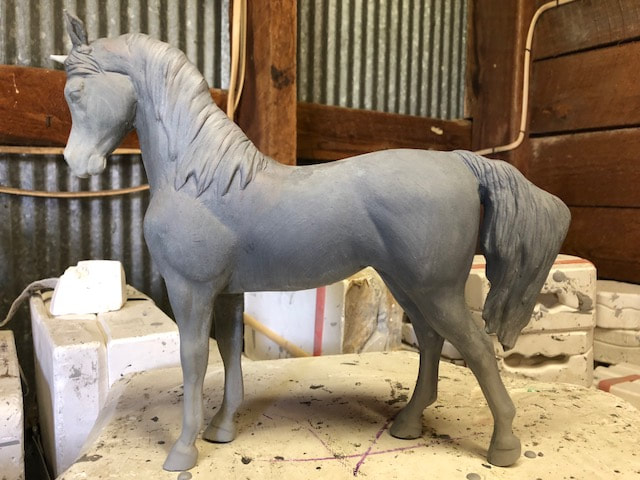
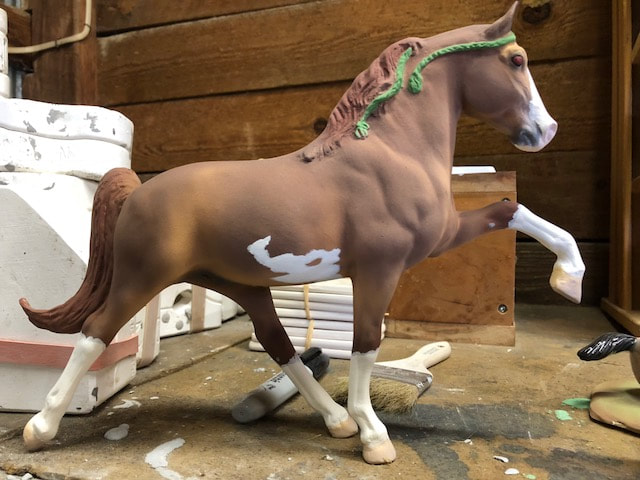
The horse below is a "Claybody custom". This means the original horse was altered while still in greenware stage. This is much more tricky than it sounds, because remember, it's just dirt! I worked on this mare for almost 3 hours, her tail fell off a few times, and she has mane on her other side plus carved ears, nostrils, some refining to her face, ect. It takes a lot of time, patience, and good music.
From greenware to bisque is a simple step- load them into the kiln! I have two kilns. My small faithful studio kiln (small enough it can be picked up and carried) that I used for many years is wonderful, but does not hold any horse that is Traditional size. We moved a lot, once a year for many years, so it was a fantastic little thing to have (however, I didn't use it much, because molds are heavy and every move more and more got left behind). I couldn't do full sized horses, but I did other small items. However, once we purchased the property we have now, and I felt very settled down, I purchased a much larger kiln. The new kiln has to be moved in 4 separate pieces, and takes me about a week to fill on average.
Putting a piece into the kiln will turn it from dirt to a very hard ceramic material called bisque. The slip I use turns white, but there are slip tints, different kinds of clay, ect that will turn other colors as well.
I cannot stress enough, a peice must be VERY dry to be kiln fired. The piece will be heated up to whatever degrees required it 'cure' the clay, in my case 04 which is around 1970 degrees. If the piece is not totally dry, the water won't be able to escape except to make it's own way, which is usually through cracks, or worse, explosions. I've only had one explode, and there's nothing quite like the feeling. Luckily, it was a base, not a horse, but the lesson was learned none the less.
|
An easy way to tell this piece is not ready to fire is by how dark she is compared to the other pieces. A more reliable way is to put the piece up to your cheek. Is it cool to the touch? If so it's not ready to fire.
|
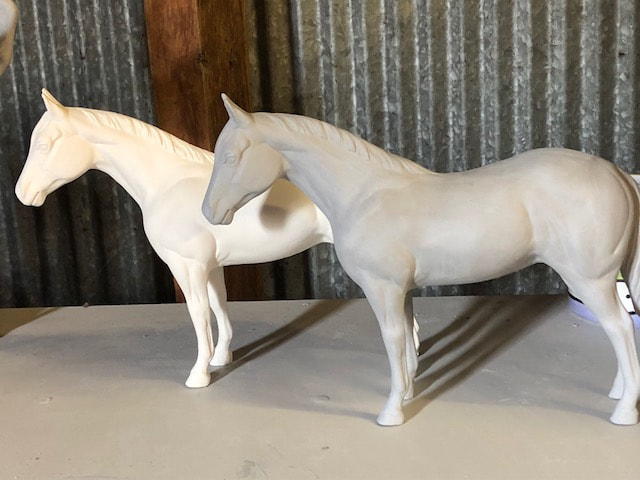
From Earthenware to Bisque! (silly me, they are backwards, the white one is the bisque, the gray is earthenware)
|
Now we have a pretty white bisque piece. Now what? Most likely more sanding.....
But the more fun answer is, time to decorate!
Bisque is a very versatile material to paint. You can paint it in 'cold' paints, such as oils, acrylics, pastels, ect. which is a great way to customize them if you don't have a kiln. I 'glaze' them, which means the paint I use all goes back into the kiln, and bonds permanently with the bisque.
The first is step is done with 'under glaze'. This is a fragile type of paint, which I typically add with an airbrush. Then I hand paint the details on, also using underglaze paint. This paint is very sensitive and somewhat temperamental, and is easily damaged if you bump it into something, brush it with your hand the wrong way, ect. It's also dull and ugly, and does not offer a whole lot of suggestion of what the horse will look like at first. The underglaze gets fired on however many times needed to set it, typically 2-6 times. Some horses get as many as 12 colors to get a good rich color.
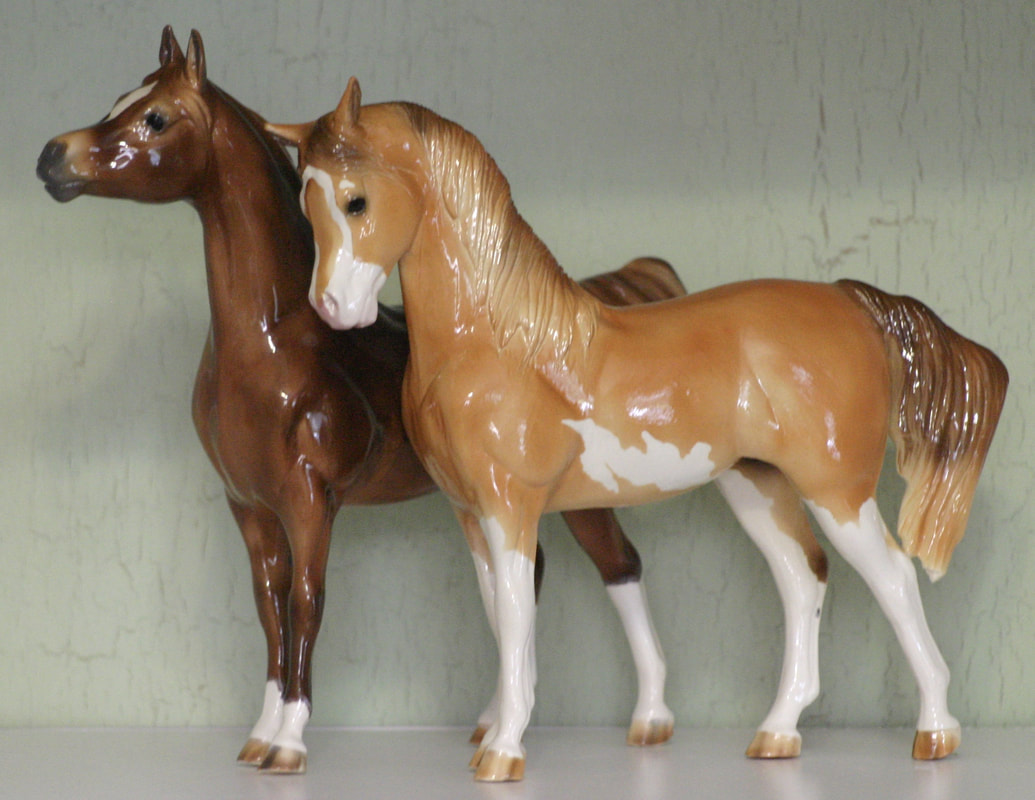
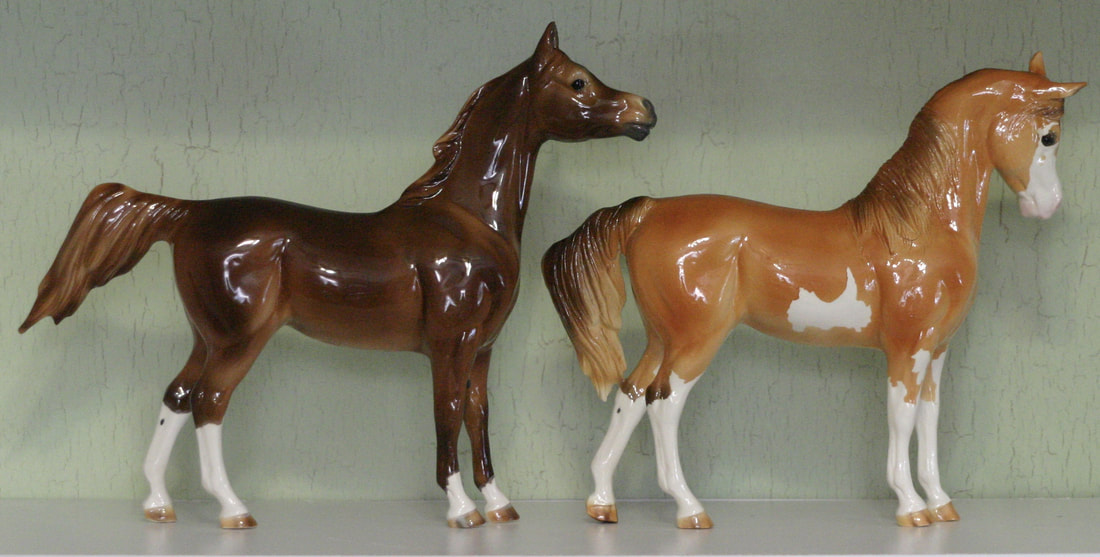
The two pictures above are the same horse. The left is with underglaze only. Notice how nice and white his belly patch looked. I was pretty bummed it faded so much when the glaze was added(I was experimenting with this one lol). The horse on the right has the glaze added- notice the drastic change in his color! The final firing is when I see if all my hard work paid off, or if something went horribly sideways somewhere along the way lol.
Here is the above clay body custom all finished up! For a little extra fun, I chose a badger face, just for something different.
That pretty much concludes the process. I hope you enjoyed it!
